
Introduction
A Raspberry Pi With Humidity Sensor is a great way to keep track of the moisture in your home. By reading the humidity level, you can adjust the amount of time you spend watering your plants or adjust the temperature in your home to ensure that your family is comfortable. By using a humidity sensor, you can also monitor the amount of moisture in the air. We will also show you how to write a Python script to read data from the sensor and print it to the terminal.
What is a Raspberry Pi?
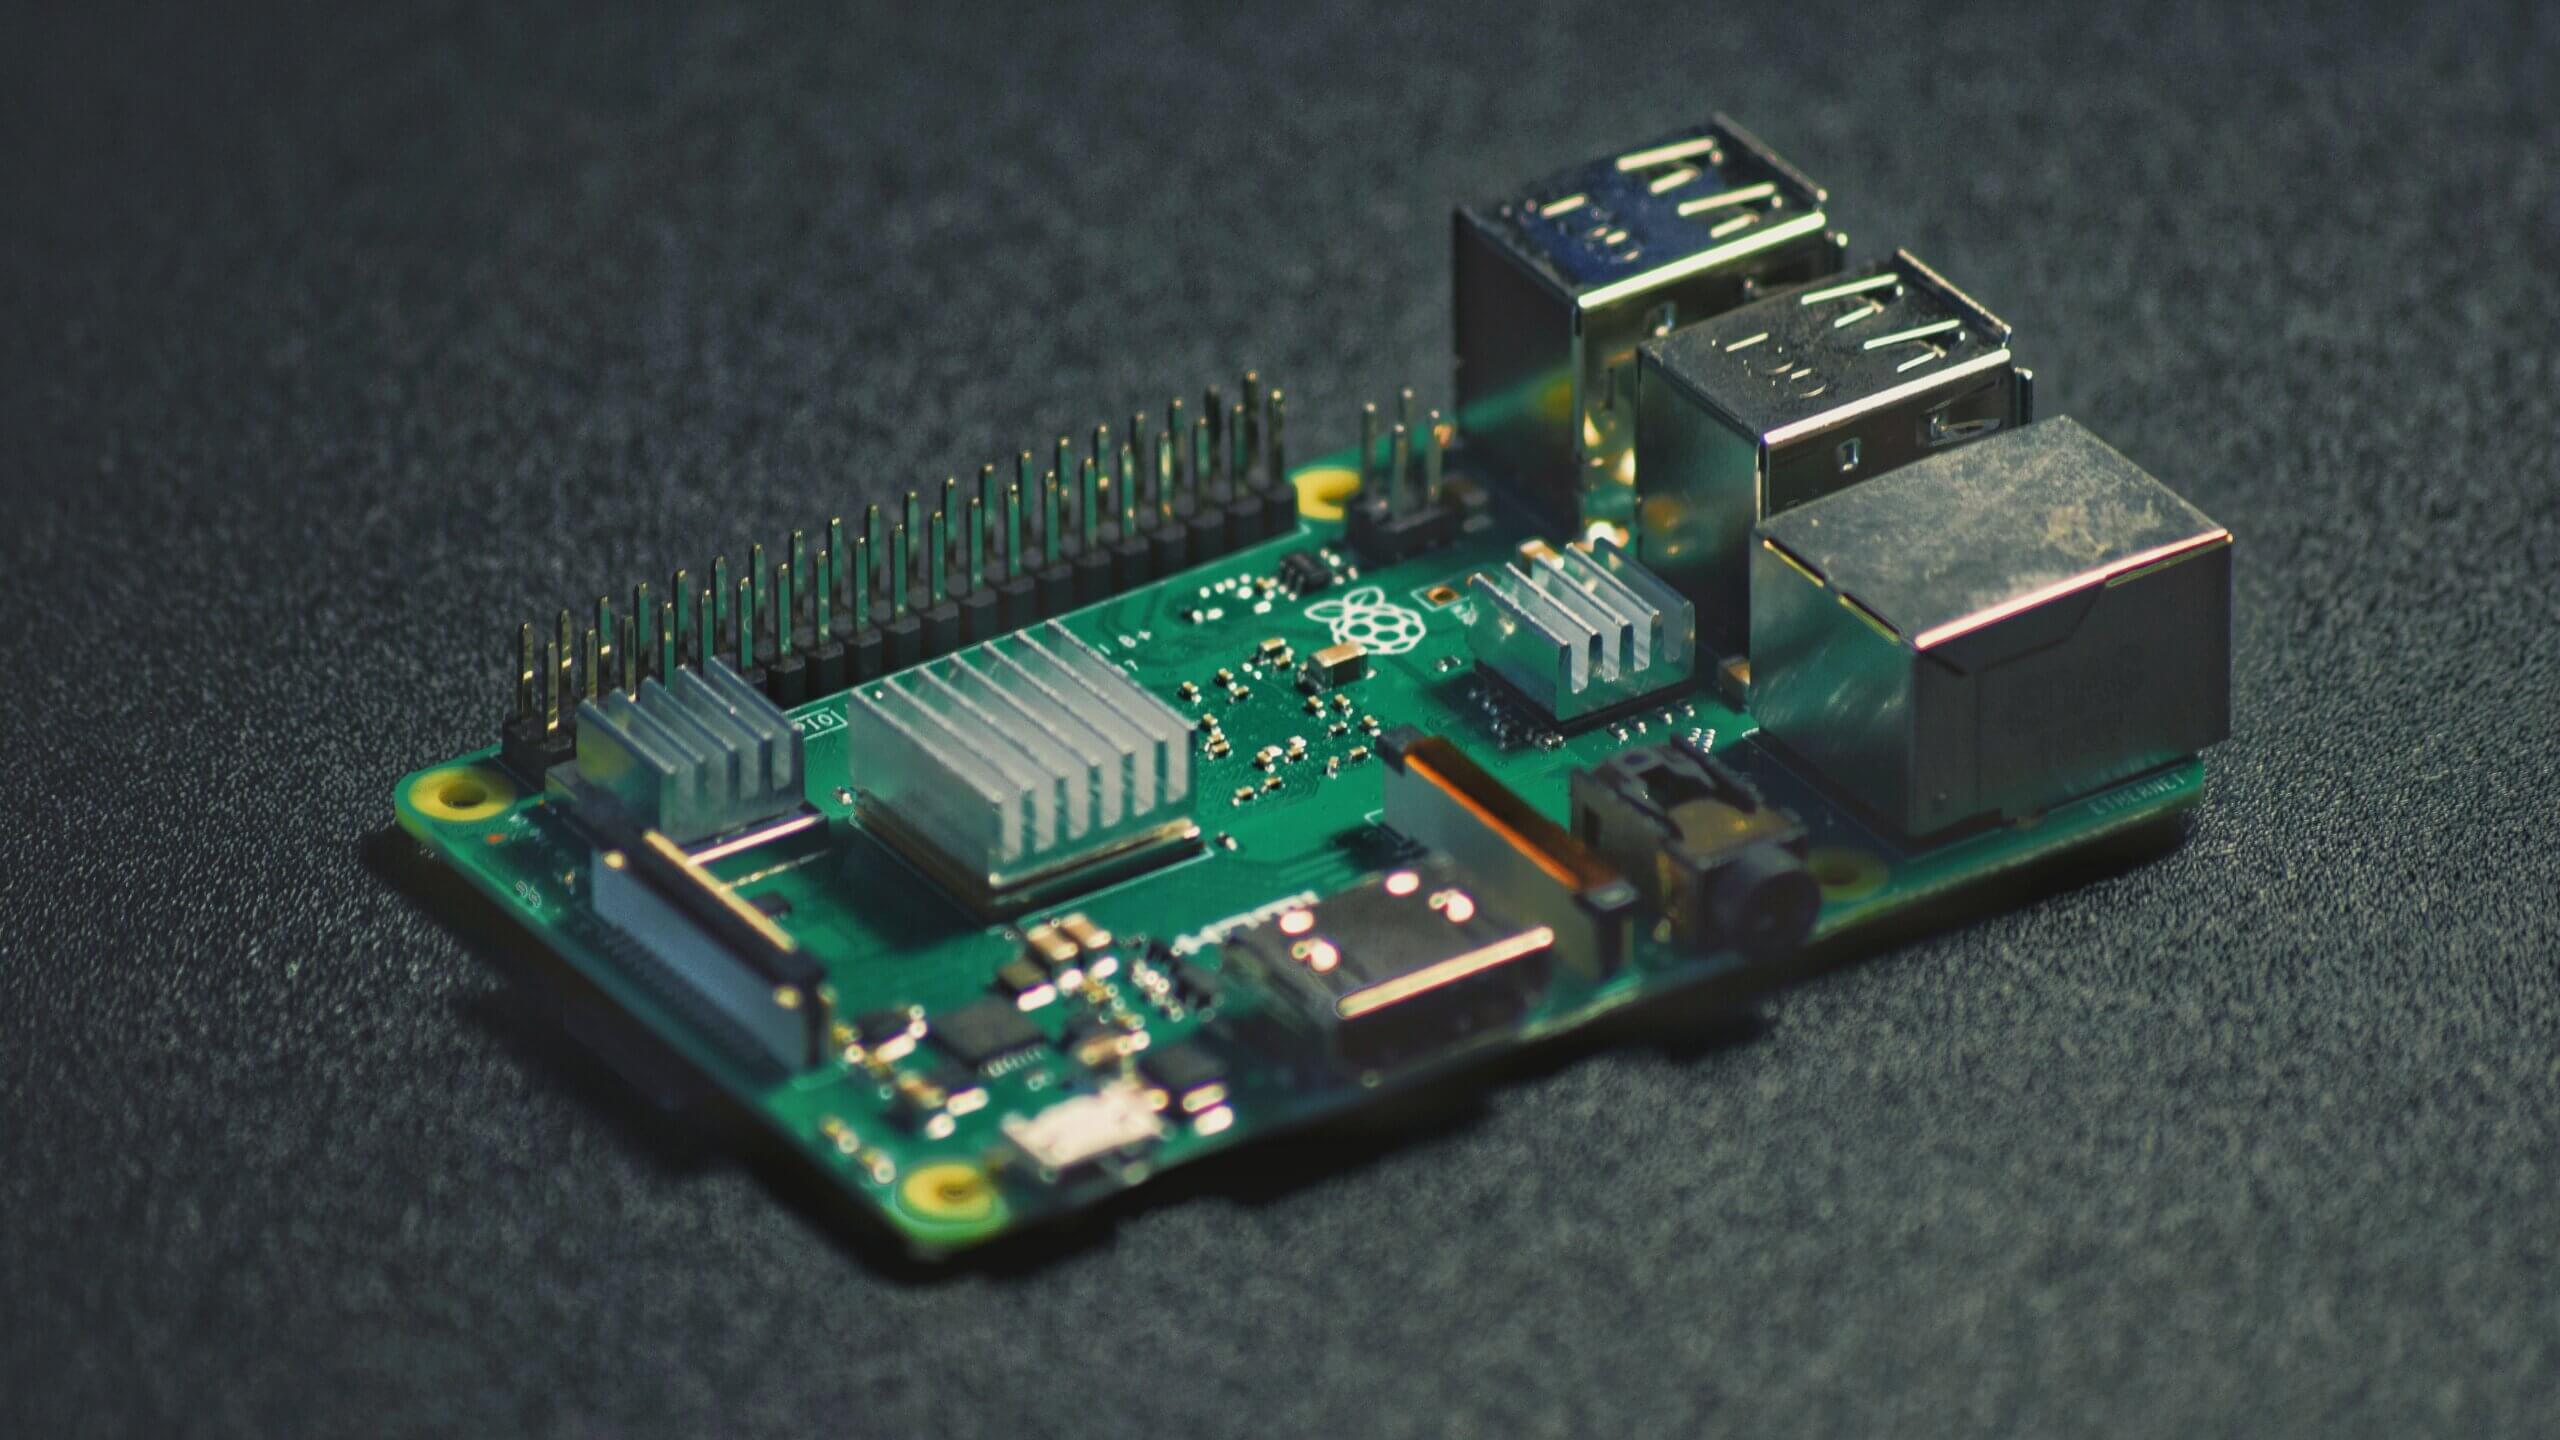
A Raspberry Pi is a credit card-sized computer that was created with the intention of teaching people about computer programming. It has since been used for a variety of projects, from creating a homemade security system to building a robot.
What is a humidity sensor?
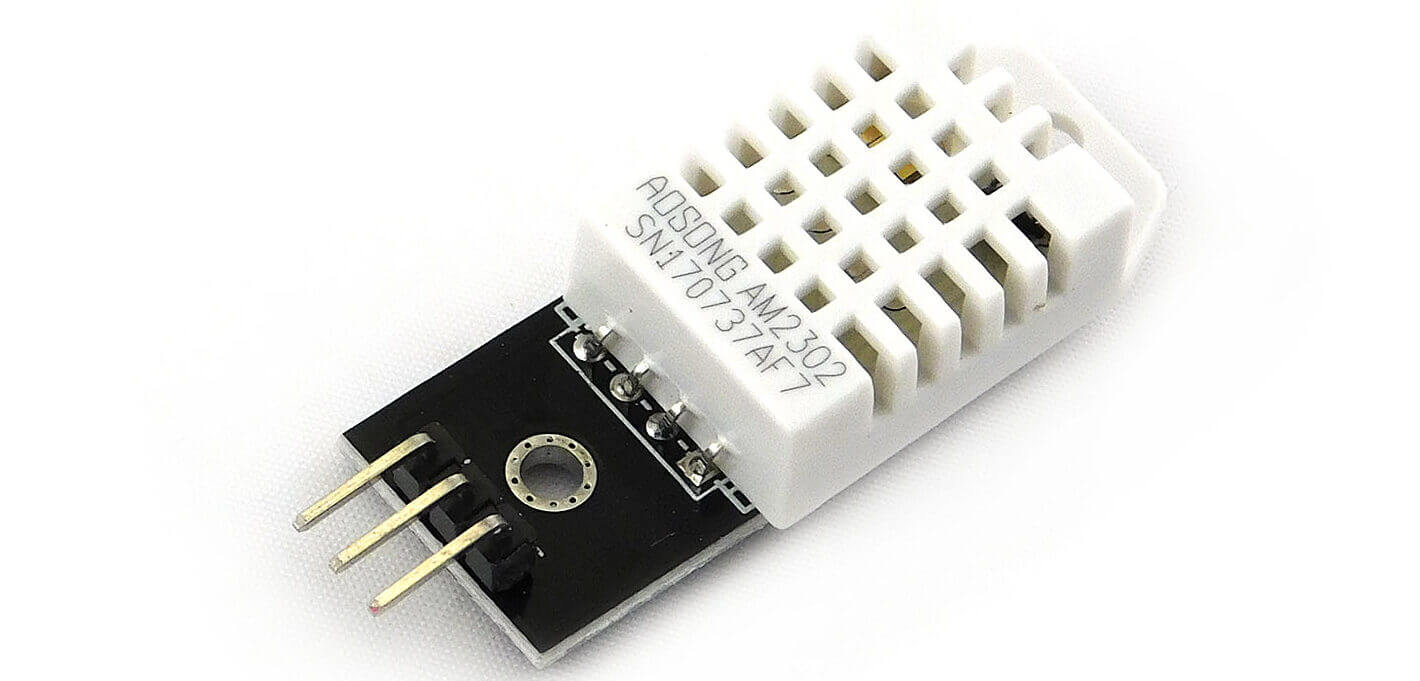
A humidity sensor is a device that measures the amount of water vapor in the air. There are many different types of humidity sensors but most work by measuring the amount of water vapor in the air using a hygrometer. Humidity sensors are used in many different applications, such as weather stations, greenhouses, and incubators. If you need to measure humidity in the range of 20% – 90% (at 25 ° C) close humidity – DHT11 is good.
Specification:
- Dimensions 13 x 29 x 8 mm
- 3 – 5.5V power supply
- Average power consumption 0.2 mA
- Communication: 1-Wire (OneWire)
- Temperature measurement: * Temperature measurement range 0 – 50 ° C * 8-bit resolution (1 ° C) * Accuracy 1 ° C * Response time 6 – 15 s (typically 10 s)
- Moisture measurement * Humidity measurement range 20% – 90% RH (at 25 ° C) – in the full temperature range – 30% -80% * 8-bit resolution (± 1% RH *) * Accuracy ± 4 RH * (at 25 ° C) * Measuring range 6 – 30 s * Stability ± 1% RH / year
How to set up a Raspberry Pi With Humidity Sensor
A Raspberry Pi humidity sensor is a great way to measure the humidity in your environment. There are many different types of humidity sensors, but the most popular type is the DHT11. This sensor is relatively easy to set up, and it is very accurate. Here are the steps to setting up your own Raspberry Pi humidity sensor:
Connect the Raspberry Pi With Humidity Sensor.
connect the sensor to your Raspberry Pi. The sensor has three pins: power, ground, and data. Connect the power and ground pins to the corresponding pins on your Raspberry Pi, and connect the data pin to a GPIO pin.
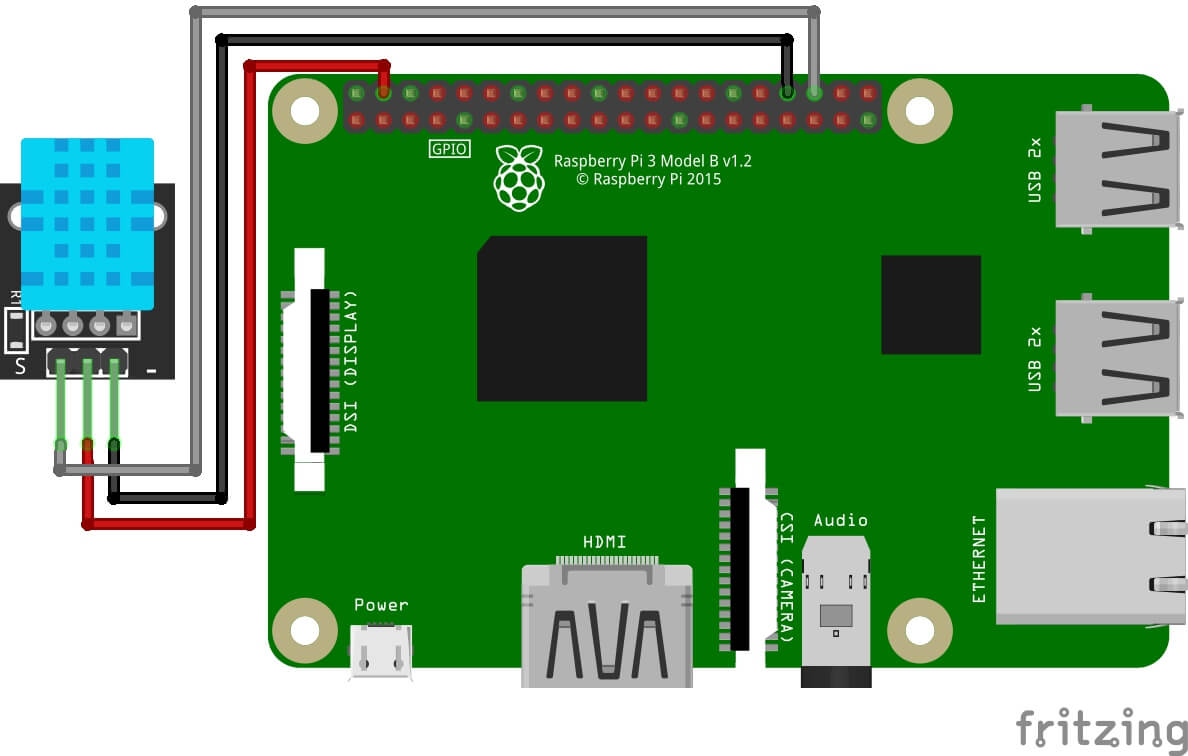
| DHT Pin | Signal | Pi Pin |
| 1 | Data/Out | 23 (GPIO22) |
| 2 | 3.3v | 1 |
| 3 | GND | 6 or 9 |
Python Library
The DHT11 needs a specific protocol to be used for the data pin. In order to save time trying to implement this yourself, it’s far easier to use the Adafruit DHT library. This library will allow you to read data from the sensor
Software Setup
To start with update your package lists and install a few Python libraries :
|
1 2 |
<span class="pln">sudo apt<span class="pun">-</span><span class="kwd">get</span> update sudo apt<span class="pun">-</span><span class="kwd">get</span> install build<span class="pun">-</span>essential python<span class="pun">-</span>dev</span> |
Then clone the Adafruit library from their repository :
|
1 2 |
<span class="pln">git clone https</span><span class="pun">:</span><span class="com">//github.com/adafruit/Adafruit_Python_DHT.git </span><span class="pln">cd </span><span class="typ">Adafruit_Python_DHT</span> |
Then install the library for Python 2 and Python 3 :
|
1 2 3 |
<span class="pln">sudo python setup</span><span class="pun">.</span><span class="pln">py install sudo python3 setup<span class="pun">.</span>py install </span> |
Hopefully, at this topic, the library is installed and watchful to be used within a Python script.
Adafruit Example Raspberry Pi With Humidity Sensor Python Script
Adafruit provides an example script that you can use to check whether your sensor is working correctly or not.
|
1 2 3 |
cd ~ <span class="pln">cd </span><span class="typ">Adafruit_Python_DHT cd examples</span> |
Then :
|
1 |
python AdafruitDHT.py 11 16 |
The example script takes two parameters. The first is the sensor type so is set to “11” to represent the DHT11.
The second is the GPIO number so for my example I am using “16” for GPIO16. You can change this if you are using a different GPIO pin for your data/out wire.
You should see an output similar to this :
|
1 |
Temp=22.0* Humidity=68.0% |
Using the Library In Other Python Scripts
Once the Adafruit library is installed and you’ve got the example script to work you can use the sensor in your own scripts. Simply import the module, set up a few variables, and call the “read_retry” function :
|
1 2 3 4 5 6 7 8 9 10 11 12 13 14 15 16 17 18 |
import Adafruit_DHT # Set sensor type : Options are DHT11,DHT22 or AM2302 sensor=Adafruit_DHT.DHT11 # Set GPIO sensor is connected to gpio=17 # Use read_retry method. This will retry up to 15 times to # get a sensor reading (waiting 2 seconds between each retry). humidity, temperature = Adafruit_DHT.read_retry(sensor, gpio) # Reading the DHT11 is very sensitive to timings and occasionally # the Pi might fail to get a valid reading. So check if readings are valid. if humidity is not None and temperature is not None: print('Temp={0:0.1f}*C Humidity={1:0.1f}%'.format(temperature, humidity)) else: print('Failed to get reading. Try again!') |
This script can be downloaded directly to your Pi using :
|
1 |
wget https://bitbucket.org/MattHawkinsUK/rpispy-misc/raw/master/python/dht11.py |
and run using :
|
1 |
python dht11.py |
Conclusion
DHT11 Sensor with the Raspberry pi to find humidity and temperature
Read Similar Articles:
- Getting Started Raspberry Pi Pico – Pinout, Specs – Beginner Guide
- Interfacing PIR Motion Sensor with Raspberry Pi Pico
- Raspberry Pi Pico Home Automation System
- Interface Servo Motor With Raspberry Pi Pico
- Interface 0.96″ OLED Display with Raspberry Pi Pico
- Raspberry Pi Pico Weather Station Using Dht11 Sensor
- Interface 16*2 LCD Display With Raspberry Pi Pico


